1. Open SSMS and Connect to Primary Replica
- Launch SQL Server Management Studio (SSMS).
- Connect to the Primary Replica (the current primary node in the AG).
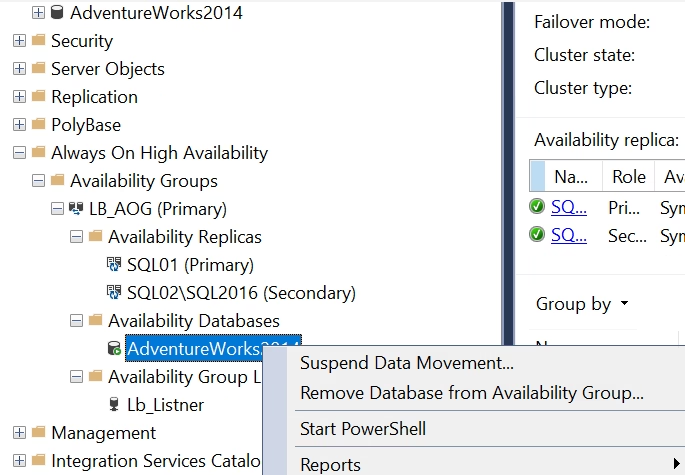
Always On High Availability → Availability Groups → [Your AG Name] → Availability Databases
- Right-click each database → Remove Database from Availability Group.
This must be done first, and only from the primary.
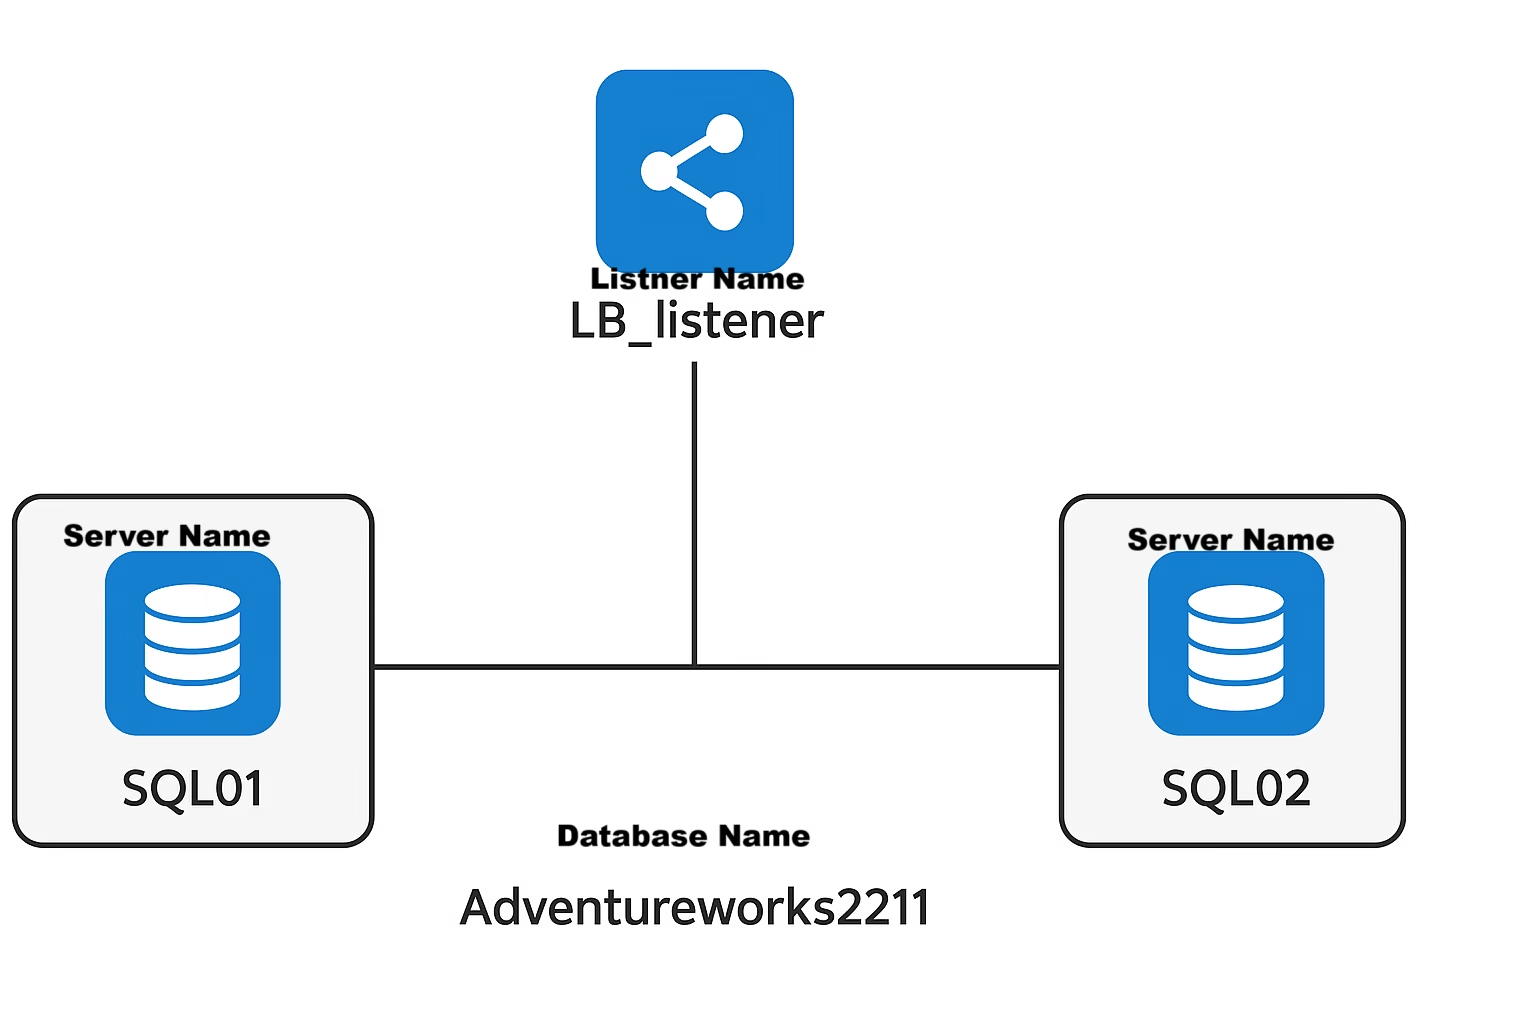
Here in my example : Availability group name is LB_AOG database name AdventureWorks2211
2. Remove Secondary Replicas
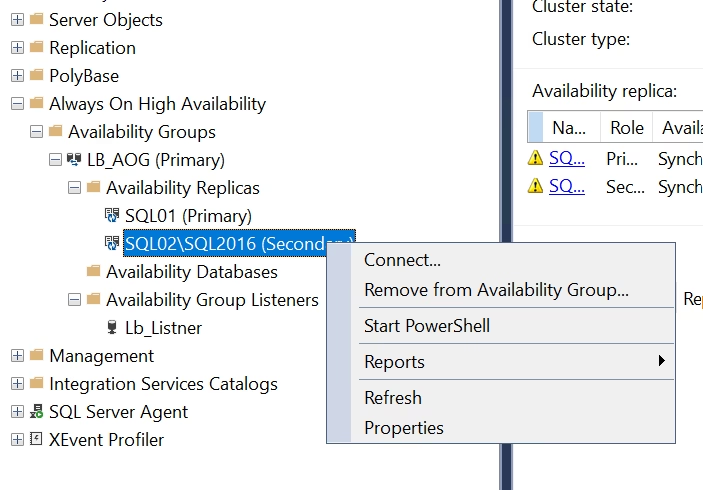
- Under the same AG in Object Explorer, expand:
Availability Replicas - For each secondary replica:
Right-click → Remove Replica
⚠️ Do this for all secondaries. Do not remove the primary.
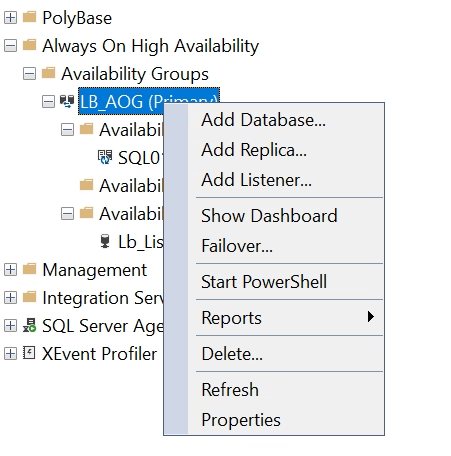
3. Delete the Availability Group
- In Object Explorer, Right-click the Availability Group name → Delete.
- Confirm the deletion.
This step:
- Removes the AG configuration.
- Cleans up AG/replica metadata.
- Does not delete actual databases.
Do not try to remove the primary replica individually.
The AG owner (primary) can only be cleaned up by deleting the whole AG.
4. (Optional) Remove the Listener
If the AG listener is no longer needed:
- Navigate to:
Availability Group → Listener - Right-click the Listener → Delete.
- Also delete the listener’s DNS record if it was static.
5. (Optional) Remove Windows Failover Cluster
Only if there are no other AGs or cluster roles:
- Open Failover Cluster Manager.
- Right-click the Cluster Name → More Actions → Destroy Cluster.
- Confirm removal.
Warning: Destroying the cluster is irreversible.
Before You Begin – Always Check:
- Recent full backups of all AG databases
- Application connectivity tested without the listener
- AG monitoring tools disabled or updated
- Documentation and diagrams are updated
- Export AG configuration (optional safety step)